
 Menü

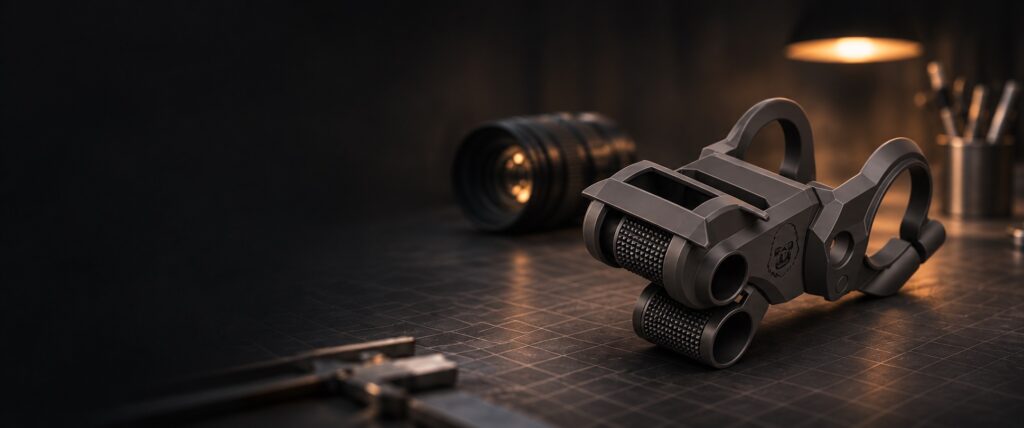
AiMonkeyGRIP · Modular mounting system
Up to three devices. One mount.
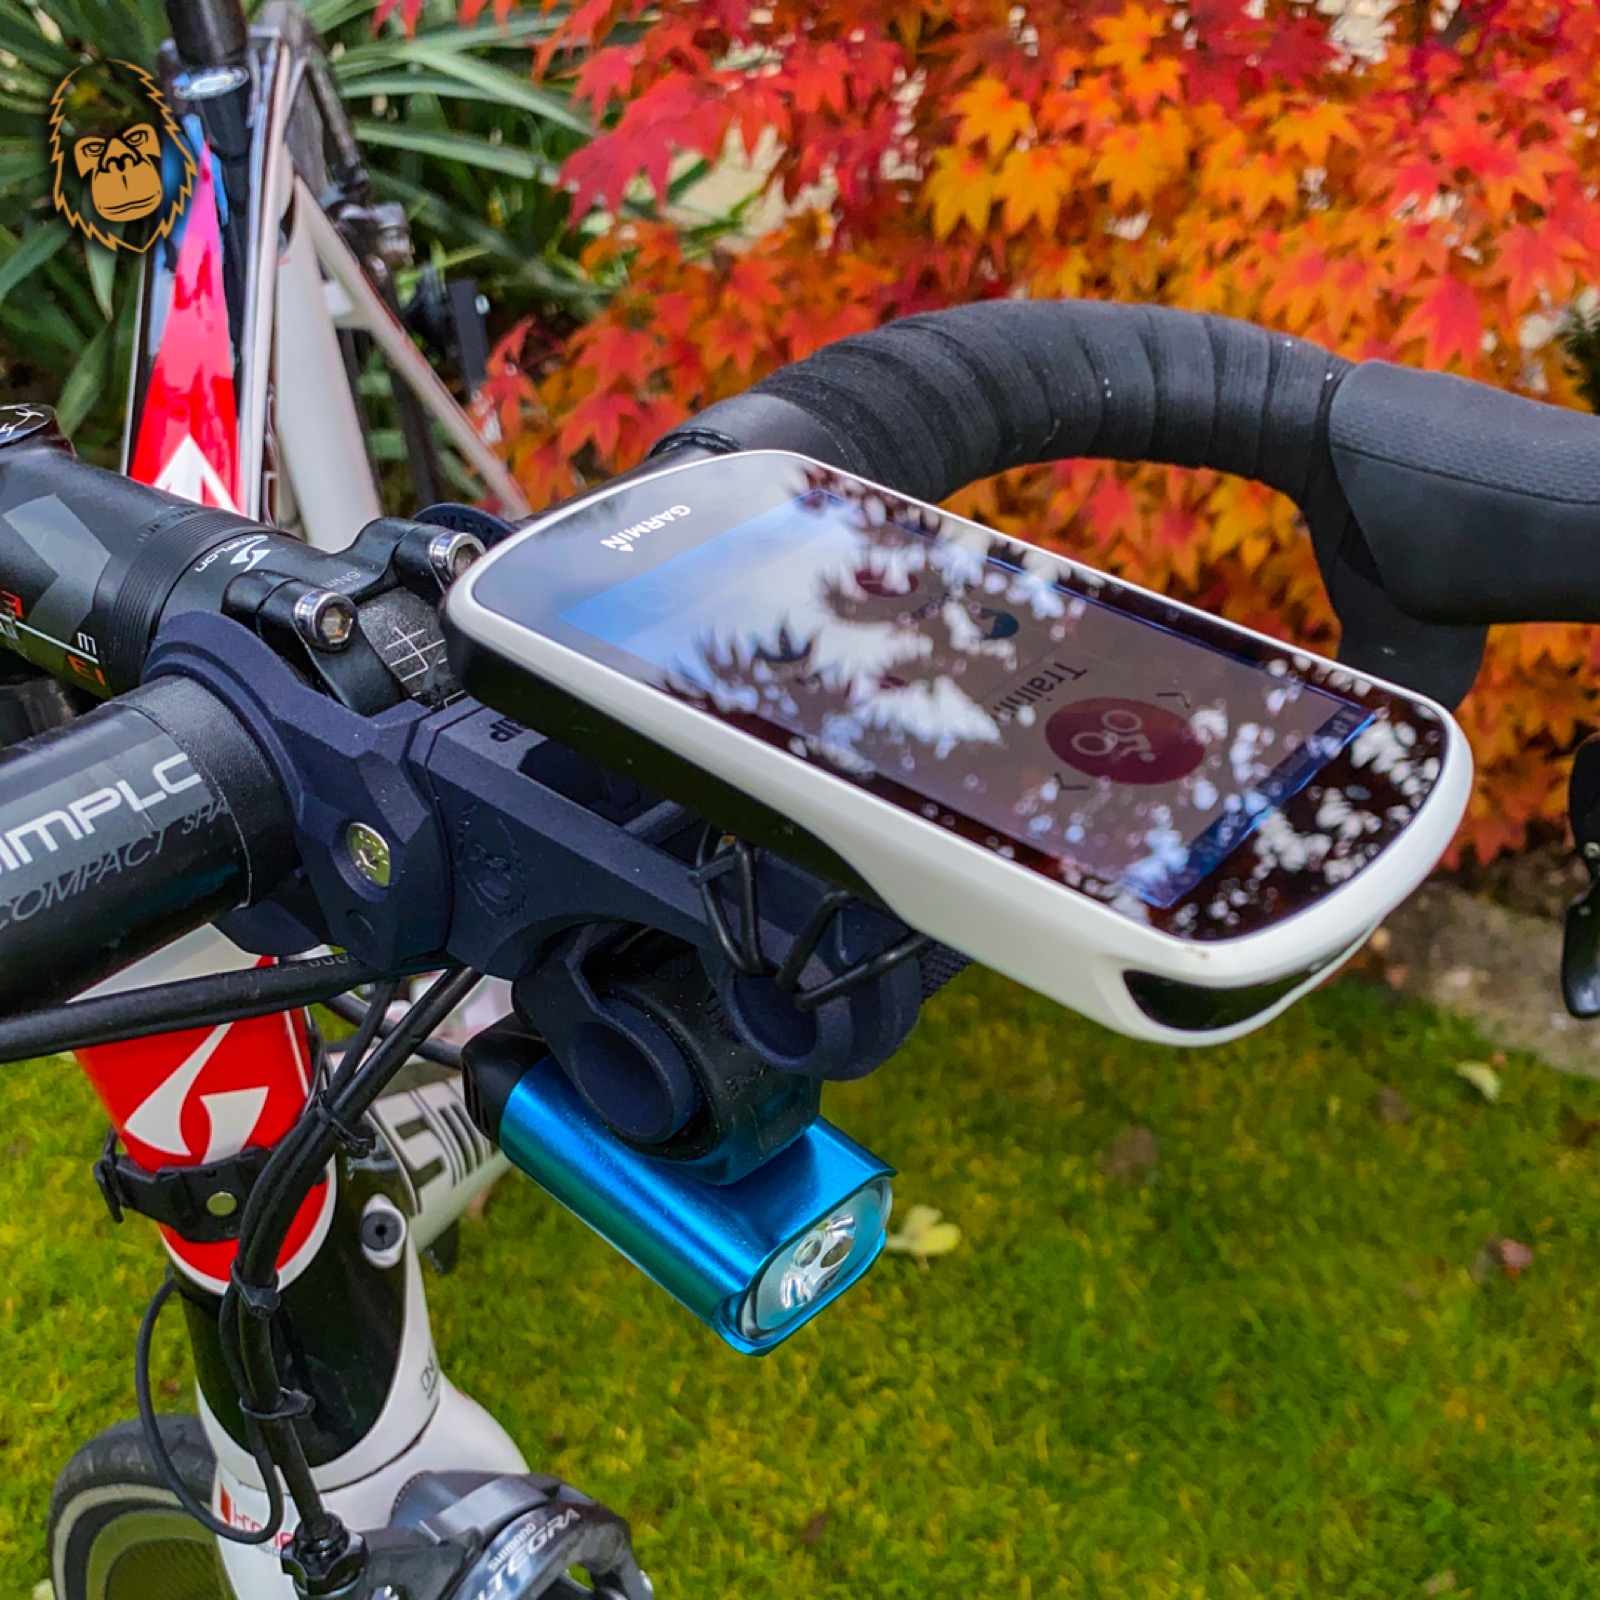
Mount your bike computer, light and camera together. Move the BASE and all your devices between bikes fitted with a compatible GRIP in one click.
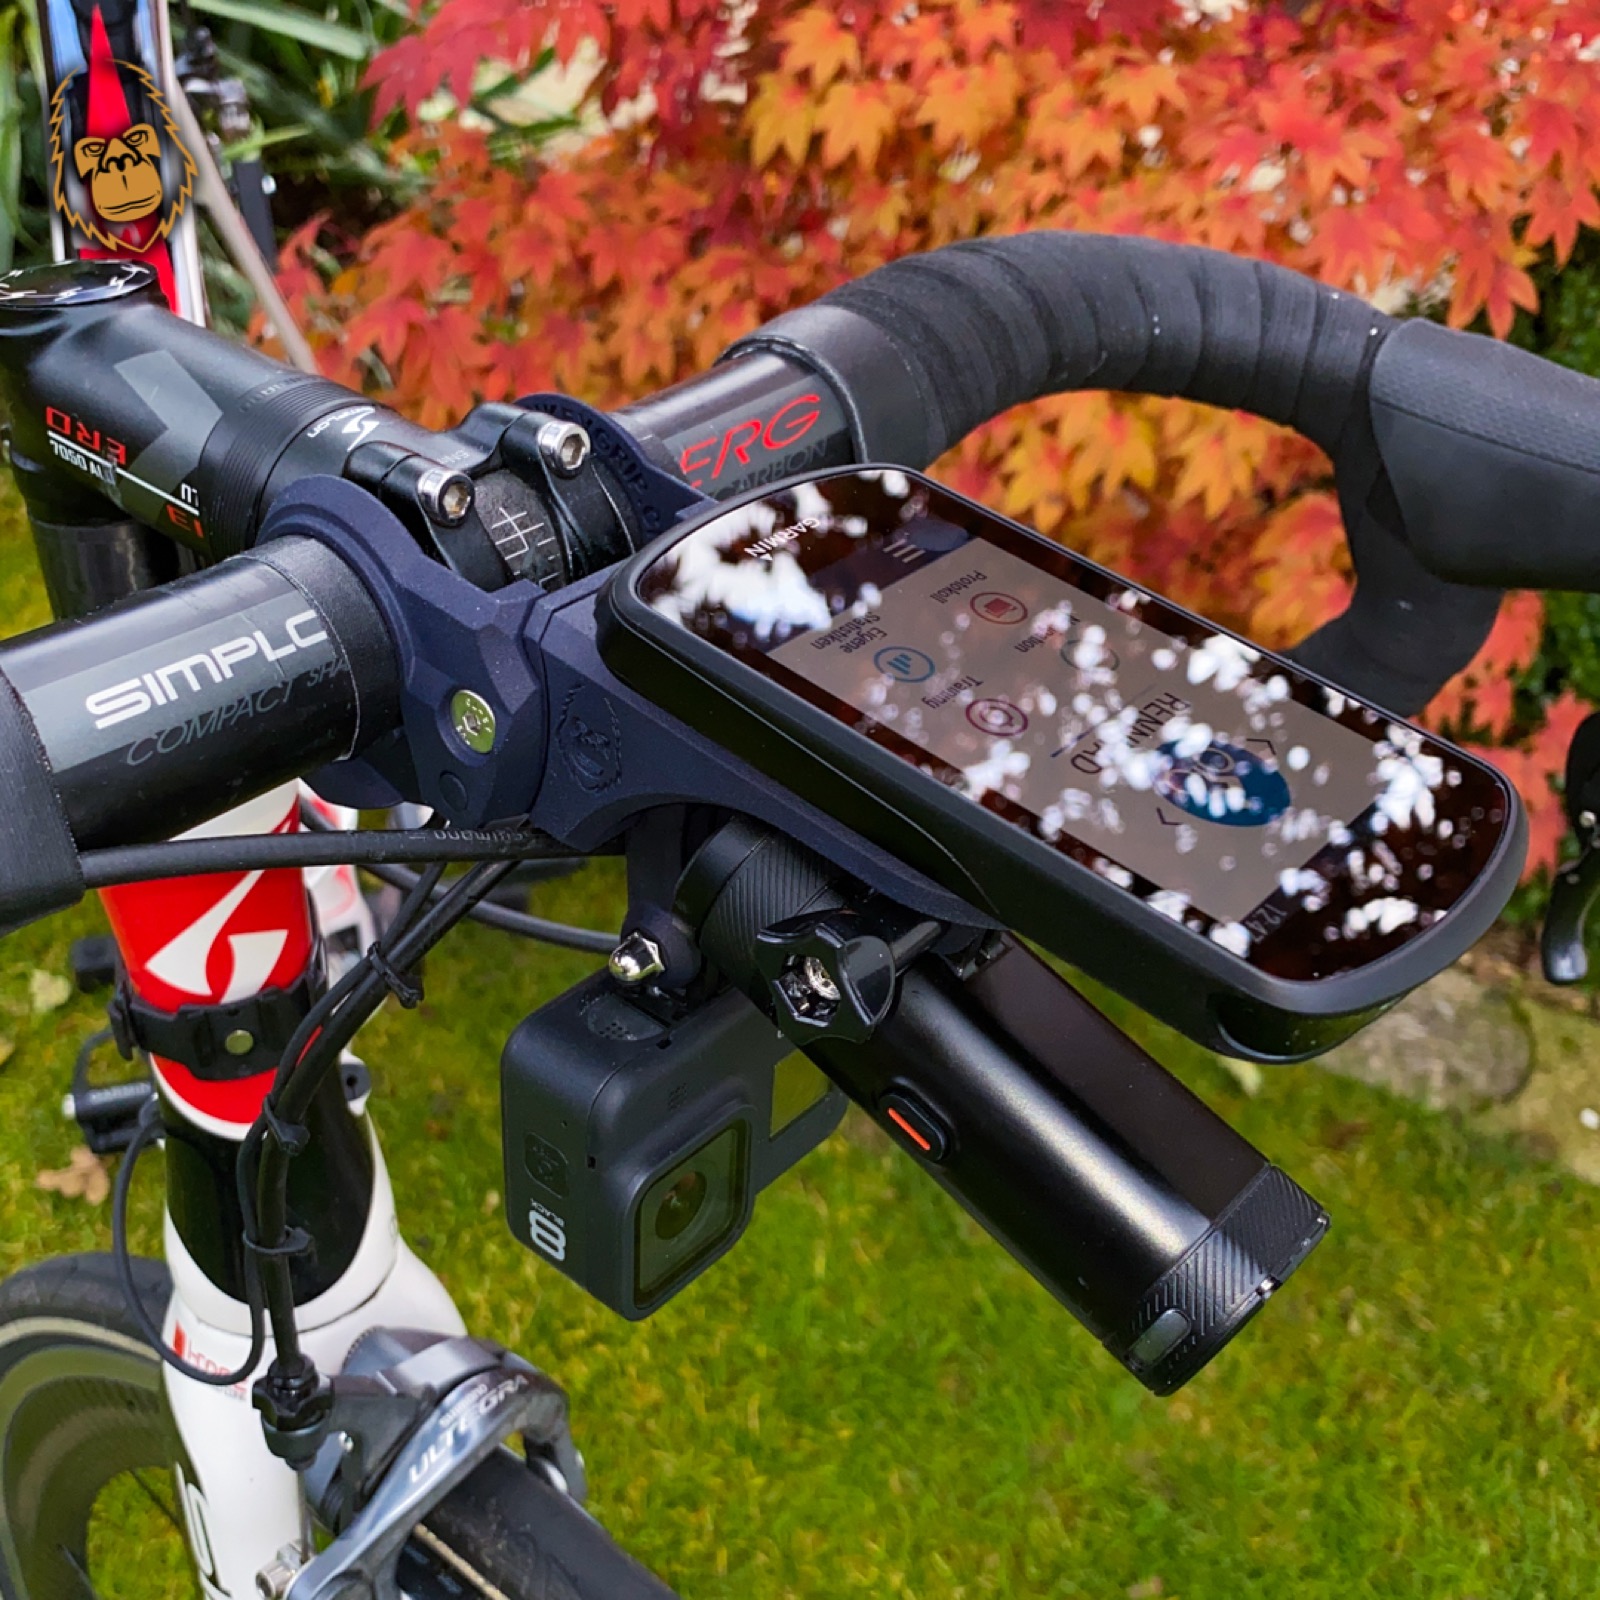
In action
See AiMonkeyGRIP in action
The original video shows the modular mounting system. The GRIP stays on the handlebar while the BASE and your equipment come with you.
What fits your bike?
Start with a GRIP that fits your handlebar and a BASE for your devices. Add a HOLDER if you need another mount.
| Component | Compatibility |
|---|---|
| GRIP | Handlebar clamp. Choose the size using the handlebar diameter and stem width. |
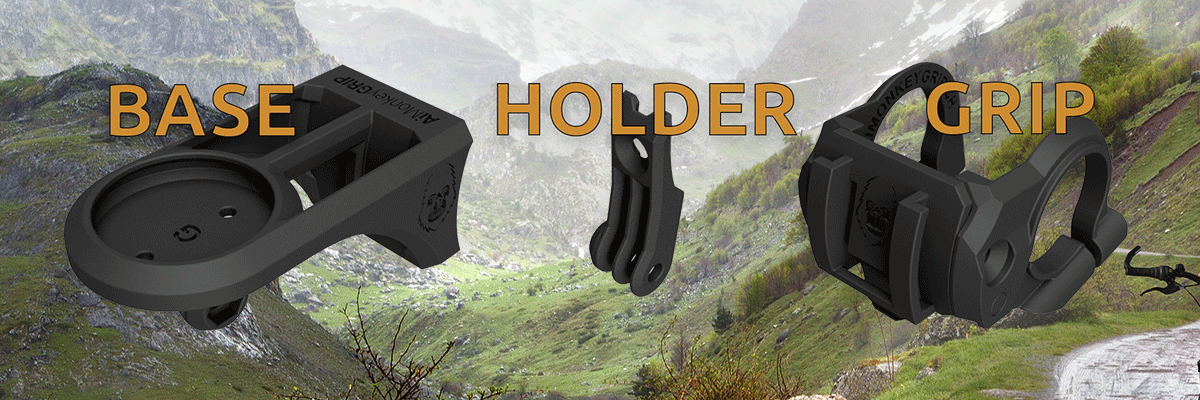
| BASE G | For a compatible Garmin® insert taken from a mount and secured from underneath. |
| BASE K | For the K-Edge® Replacement Insert Kit. Choose the insert for your device, such as Garmin®, Wahoo® or Sigma®. |
| BASE M | For devices attached with a rubber band or O-ring. |
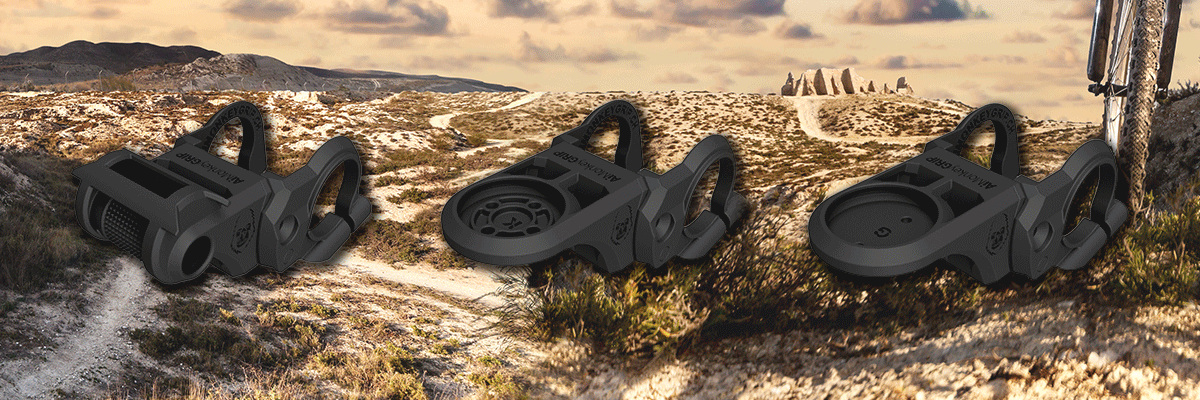
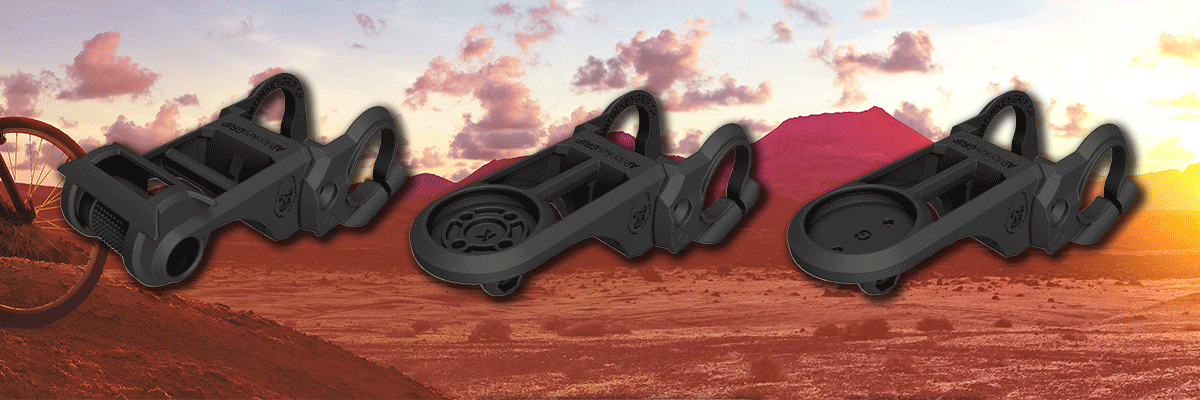
| SHORT / LONG | Up to two or three devices respectively, depending on the setup and compatible HOLDER. |
| HOLDER G / M | Extra mount for a GoPro®-compatible fitting (G), or a rubber band or O-ring fitting (M). |
See the adapters
Original diagrams of the variants
File format, printing process and hardware
The Cults package contains STEP files for GRIP sizes, BASE variants and HOLDER parts. The designer recommends Multi Jet Fusion with PA12.
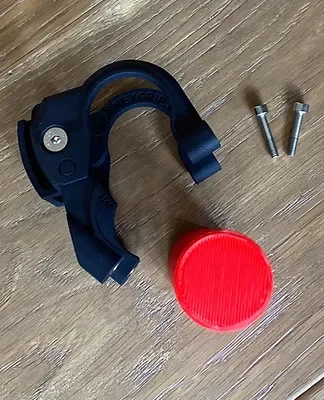
The listing specifies two BN1046-M4×4 threaded inserts, two M4×20 socket-head screws, three M5 hex nuts, one M5×12 countersunk screw and two M5×20 countersunk screws. The device insert depends on your BASE.
Installation
1. Prepare
Have a 3 mm hex key ready and check the GRIP size against your handlebar dimensions.
2. Fit the GRIP to the handlebar
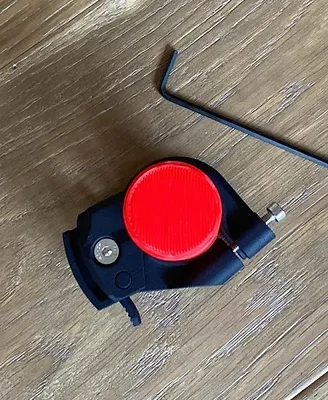
Remove the screws and open the two arms. Position the GRIP on the handlebar and close the arms around it.
3. Align and tighten
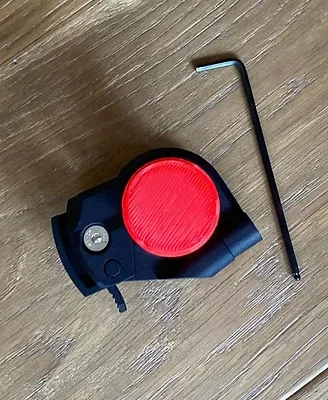
Reinsert the screws and align the GRIP. The original manual says to tighten the screws until the gap closes.
Tip from the manual
If the mount settles slightly or you want to protect the handlebar, the manual describes placing a single layer of cloth tape with about one centimetre of overlap under the GRIP.
Frequently asked questions
What do I measure to find the right GRIP?
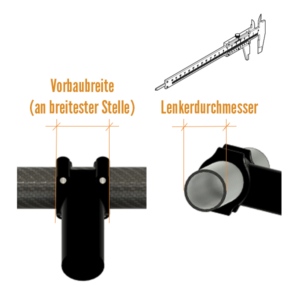
Measure the handlebar diameter next to the stem and the stem at its widest point. If the stem width is exactly on a size boundary, the manual recommends the next size up.

What devices can I mount?
Depending on the BASE and HOLDER, you can mount a bike computer, action camera or a device with a rubber band or O-ring fitting. See the compatibility table to choose the right parts.
Which parts do I need to get started?
You need at least a GRIP and a compatible BASE. Add a HOLDER if you need another mount.
What do I need for multiple bikes?
Each bike needs a GRIP in the right size. Move the BASE between them. Measure each handlebar and stem individually as their dimensions can differ.
On the bike
Development and field reports
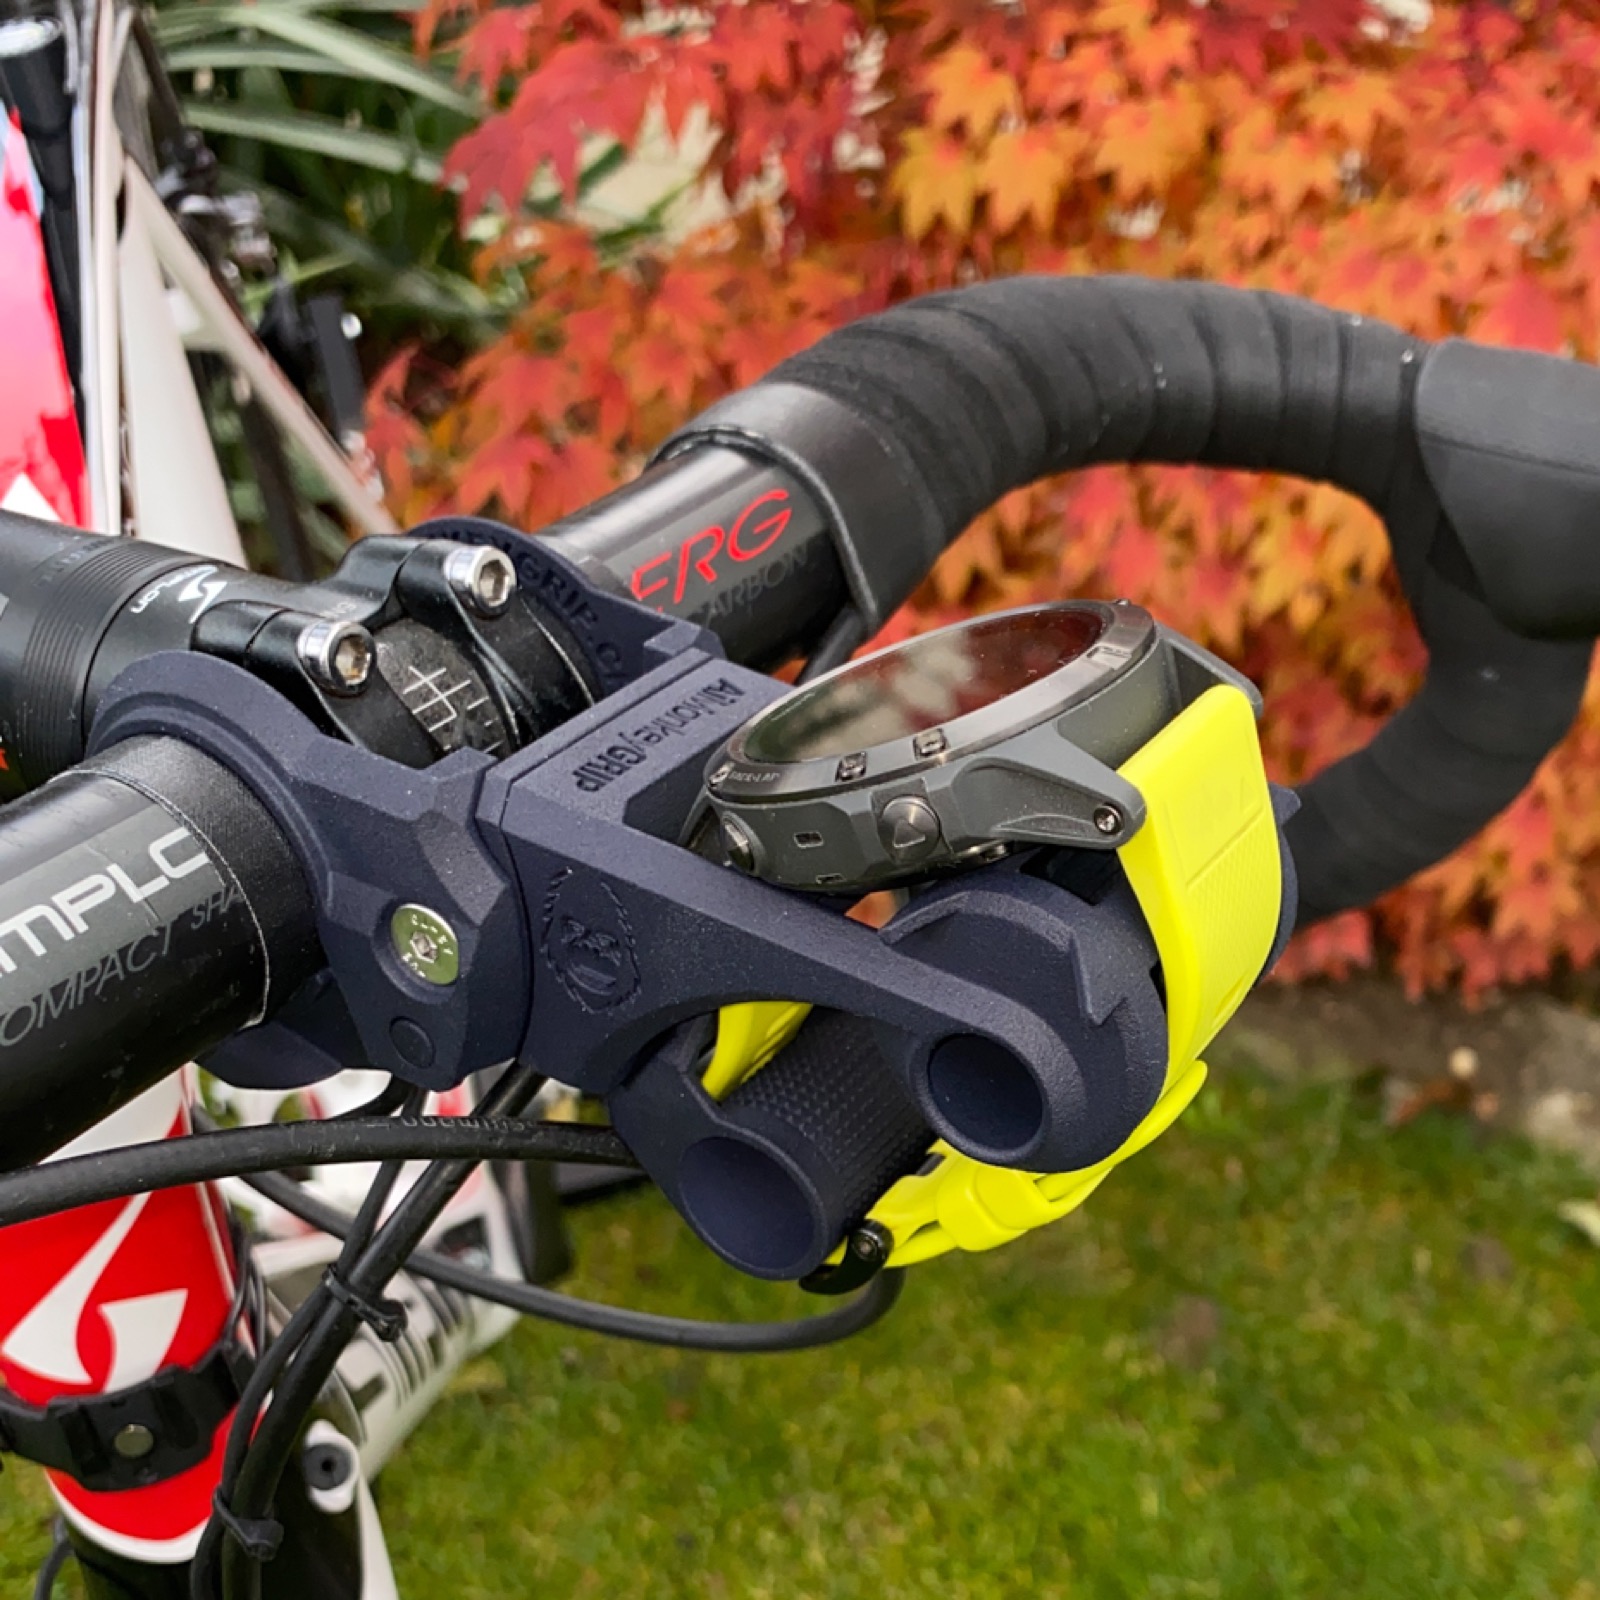
Lukas Kupper wanted to free up handlebar space by bringing accessories together on one mount. The idea began as a Kickbox project and went through eleven prototypes before reaching the model shown here.
More space for lights and accessories · Dominic Gähler, May 2024
Dominic reports that he could combine several devices on one mount and centre his front light. He was pleased with the ordering and delivery experience at the time.
Riding with a Garmin Fenix · Christophe Emery, May 2024
Christophe was looking for a handlebar mount for his Garmin Fenix. After taking the two measurements and speaking to the designer, he chose the long BASE. He highlights the central position and how easily he could read his watch.
Prototype field test · Daniel T., April 2024
Daniel tested a prototype on his road bike and on a mountain bike ride over the Glas and Tomül passes. The single mount freed up handlebar space, reduced interference with the cables and made it easier to remove devices for charging. The quick-release connection stayed together on rough descents. The prototype mount settled slightly, providing feedback for later versions.
Build your setup
Choose the right version and get the print files. If you would like a printed adapter, contact LK-Arts to enquire.


